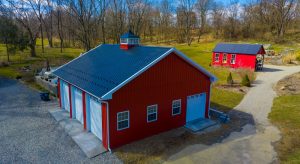
If you build backyard sheds using quality materials and a sound design, those buildings will serve their owners for years – probably decades – to come. In addition to being properly built from good materials, site selection and preparation also play an important role in the lifespan of the building — which is important if customer satisfaction is important to you … especially if you offer any type of warranty with your sheds. And, of course, if the property owner would rather not deal with site preparation, it may be an opportunity for you to offer as an add-on service.
Here are a few reminders of site preparation best practices – and mistakes to avoid.
Permits, Setbacks, and 811
You well know that you can’t just drop a shed anywhere or just start digging at will. Some areas require permits for all structures – not just structures of a certain size or larger; you may wish to remind your customers that any permits or land usage requirements are their responsibility. Also, make sure the owner knows whether a setback from the property line is required. Most townships and municipalities have specific setback requirements. For example, in Waupaca County, Wisconsin, the location of the Shield Wall Media office, the setback for an accessory building of 200 sq. ft. or less is 7 ½ feet. Even though these details are ultimately the property owner’s responsibility, showing your customer you are looking out for them helps build the business-client relationship and may help you get a five-star review when all is said and done.
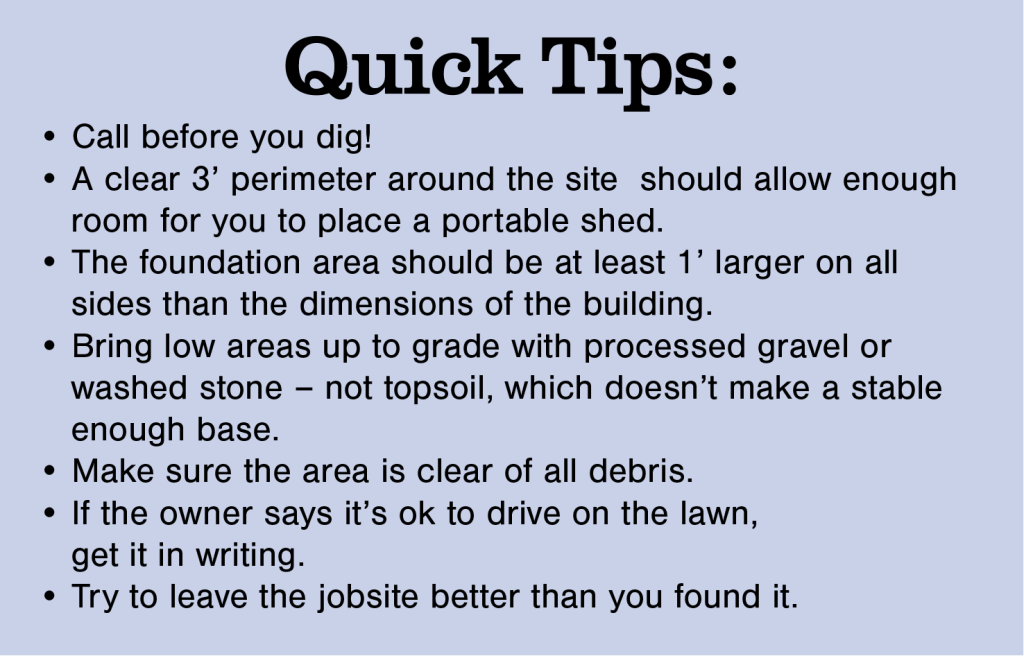
After the required permits are obtained, you need to call 811, which is the national call-before-you-dig number for professional excavators and homeowners. Making sure the area to be excavated is clear of utilities is important – and it’s the law. If your company is doing any excavating, not checking for utilities can set you back professionally and financially. One example that comes to mind: An agent of the property owner, who didn’t call and get the utilities marked, cut a fiber optic cable while putting in a row of fence posts using a three-point post-hole digger. It interrupted the telecommunication services for hundreds of homes.
“When you cut a fiber cable it stretches,” explained a representative from the telecommunications company, “and he dug a few holes before we were notified there was no service in the area. We ended up having to replace 500 feet of cable. The cost of burying that plus fusion splicing it at both ends was costly.” The fellow ended up with a hefty repair bill of right around $5,000.
Level vs. Flat
The ultimate goal in site preparation is to make sure the site will give the shed its best chance of a long service life to your customer. They may assume that because the ground is flat, it is level. You may need to explain that this is not the case; often, “close enough” isn’t good enough. Explain that if the site isn’t level or isn’t prepared properly, the shed could twist or sag and doors and windows may bind or not open at all. Having some stakes, string, and a line level will allow you to show them how out of level a proposed shed site may be.
If the site must first be graded and you have the equipment and the know-how, you can solve this problem for your customers and increase your profits per job. If the site is so out of level that a lot of fill is needed, remember to add the fill in 6-8” lifts and compact each lift before adding another.
Whether you decide to price per hour or per service, for the sake of transparency, it’s good practice to prepare a price list for before-hand.
Benefits of Crushed Stone
Some companies that specialize in site preparation swear by framing the foundation and anchoring it to the ground with rebar. Lining the area with long-lasting commercial-grade landscaping fabric will help keep the stone from pressing into the ground yet will allow water to run through, draining away from the building.
Gravel or crushed stone are the most-recommended foundation for portable buildings with a wood floor because the materials are affordable and the foundation system works so well. The crushed stone locks together when tamped down for a stable, evenly supportive foundation, yet it still allows water to drain away. The crushed stone foundation minimizes the risk of the building sinking or shifting out of level. Proper drainage is important to keep water from pooling around or under the shed. If water is allowed to pool, even if it’s not directly touching the foundation, the excess moisture can cause mold, rot, and corrosion – none of which you want associated with the structures you build. (Note: Don’t use loam or sand for the base since it’s not stable enough. It will compact and shift, causing problems in the future.)
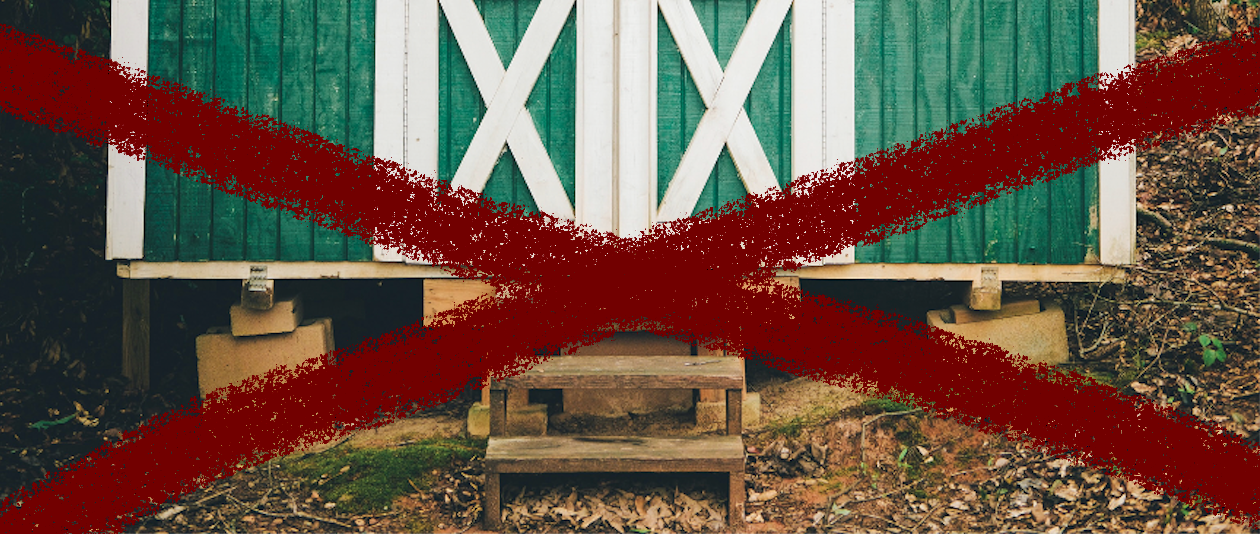
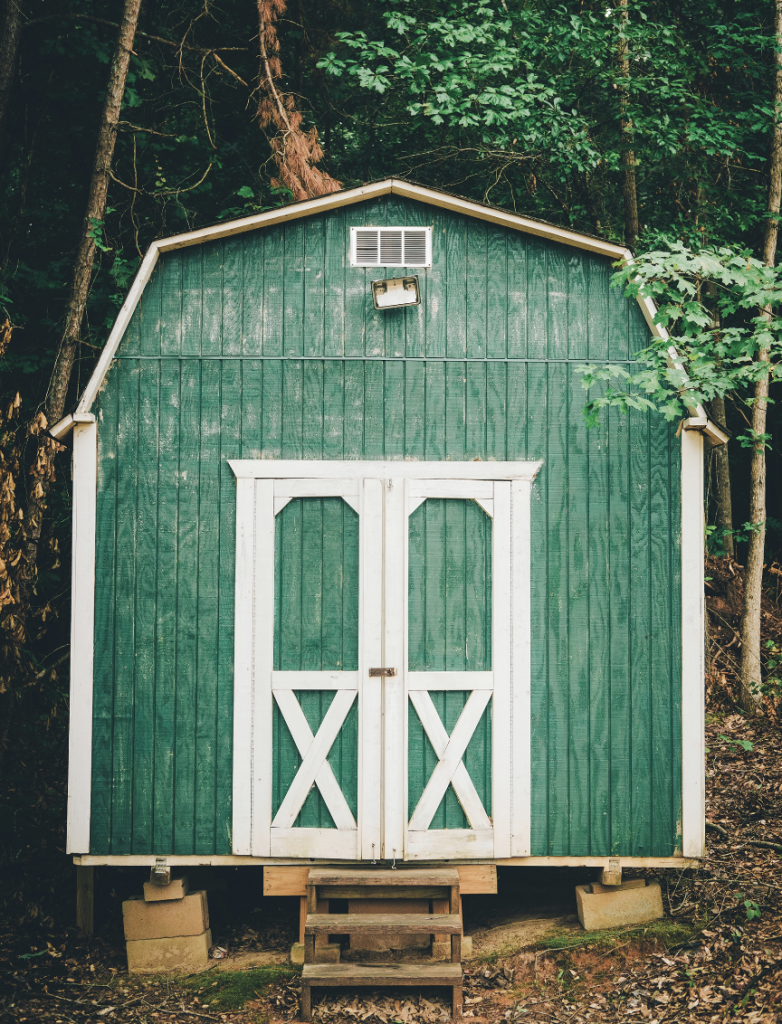
Concrete Block – Use With Caution
If using concrete blocks during shed installation, do so carefully because even weight distribution is important for long-term stability. The Site Preparations, LLC, website explains, “One of the biggest reasons to not use concrete blocks under a shed is the fact that the shed will not be supported evenly.”
Even if you can perfectly level all the blocks when placing the shed, as years go by, the blocks will tend to settle at different rates. “This can put unnecessary strain on the shed’s framing, causing it to show its age much faster.”
No matter what foundation options you choose to provide (or assure are in place), remember the purpose: To support the structure evenly in a way that prevents damage from moisture buildup. Doing so will help assure you not only have a customer for life, but that customer will become your advocate. GSCB
Do you have news you think should be in front of a national audience? Or do you have a suggestion for an article topic? Email your suggestions and news items to Karen Knapstein at Garage, Shed & Carport Builder magazine.