Rural Shed Used As A Study In ‘Bookshelf’ Framing
By Karen Knapstein
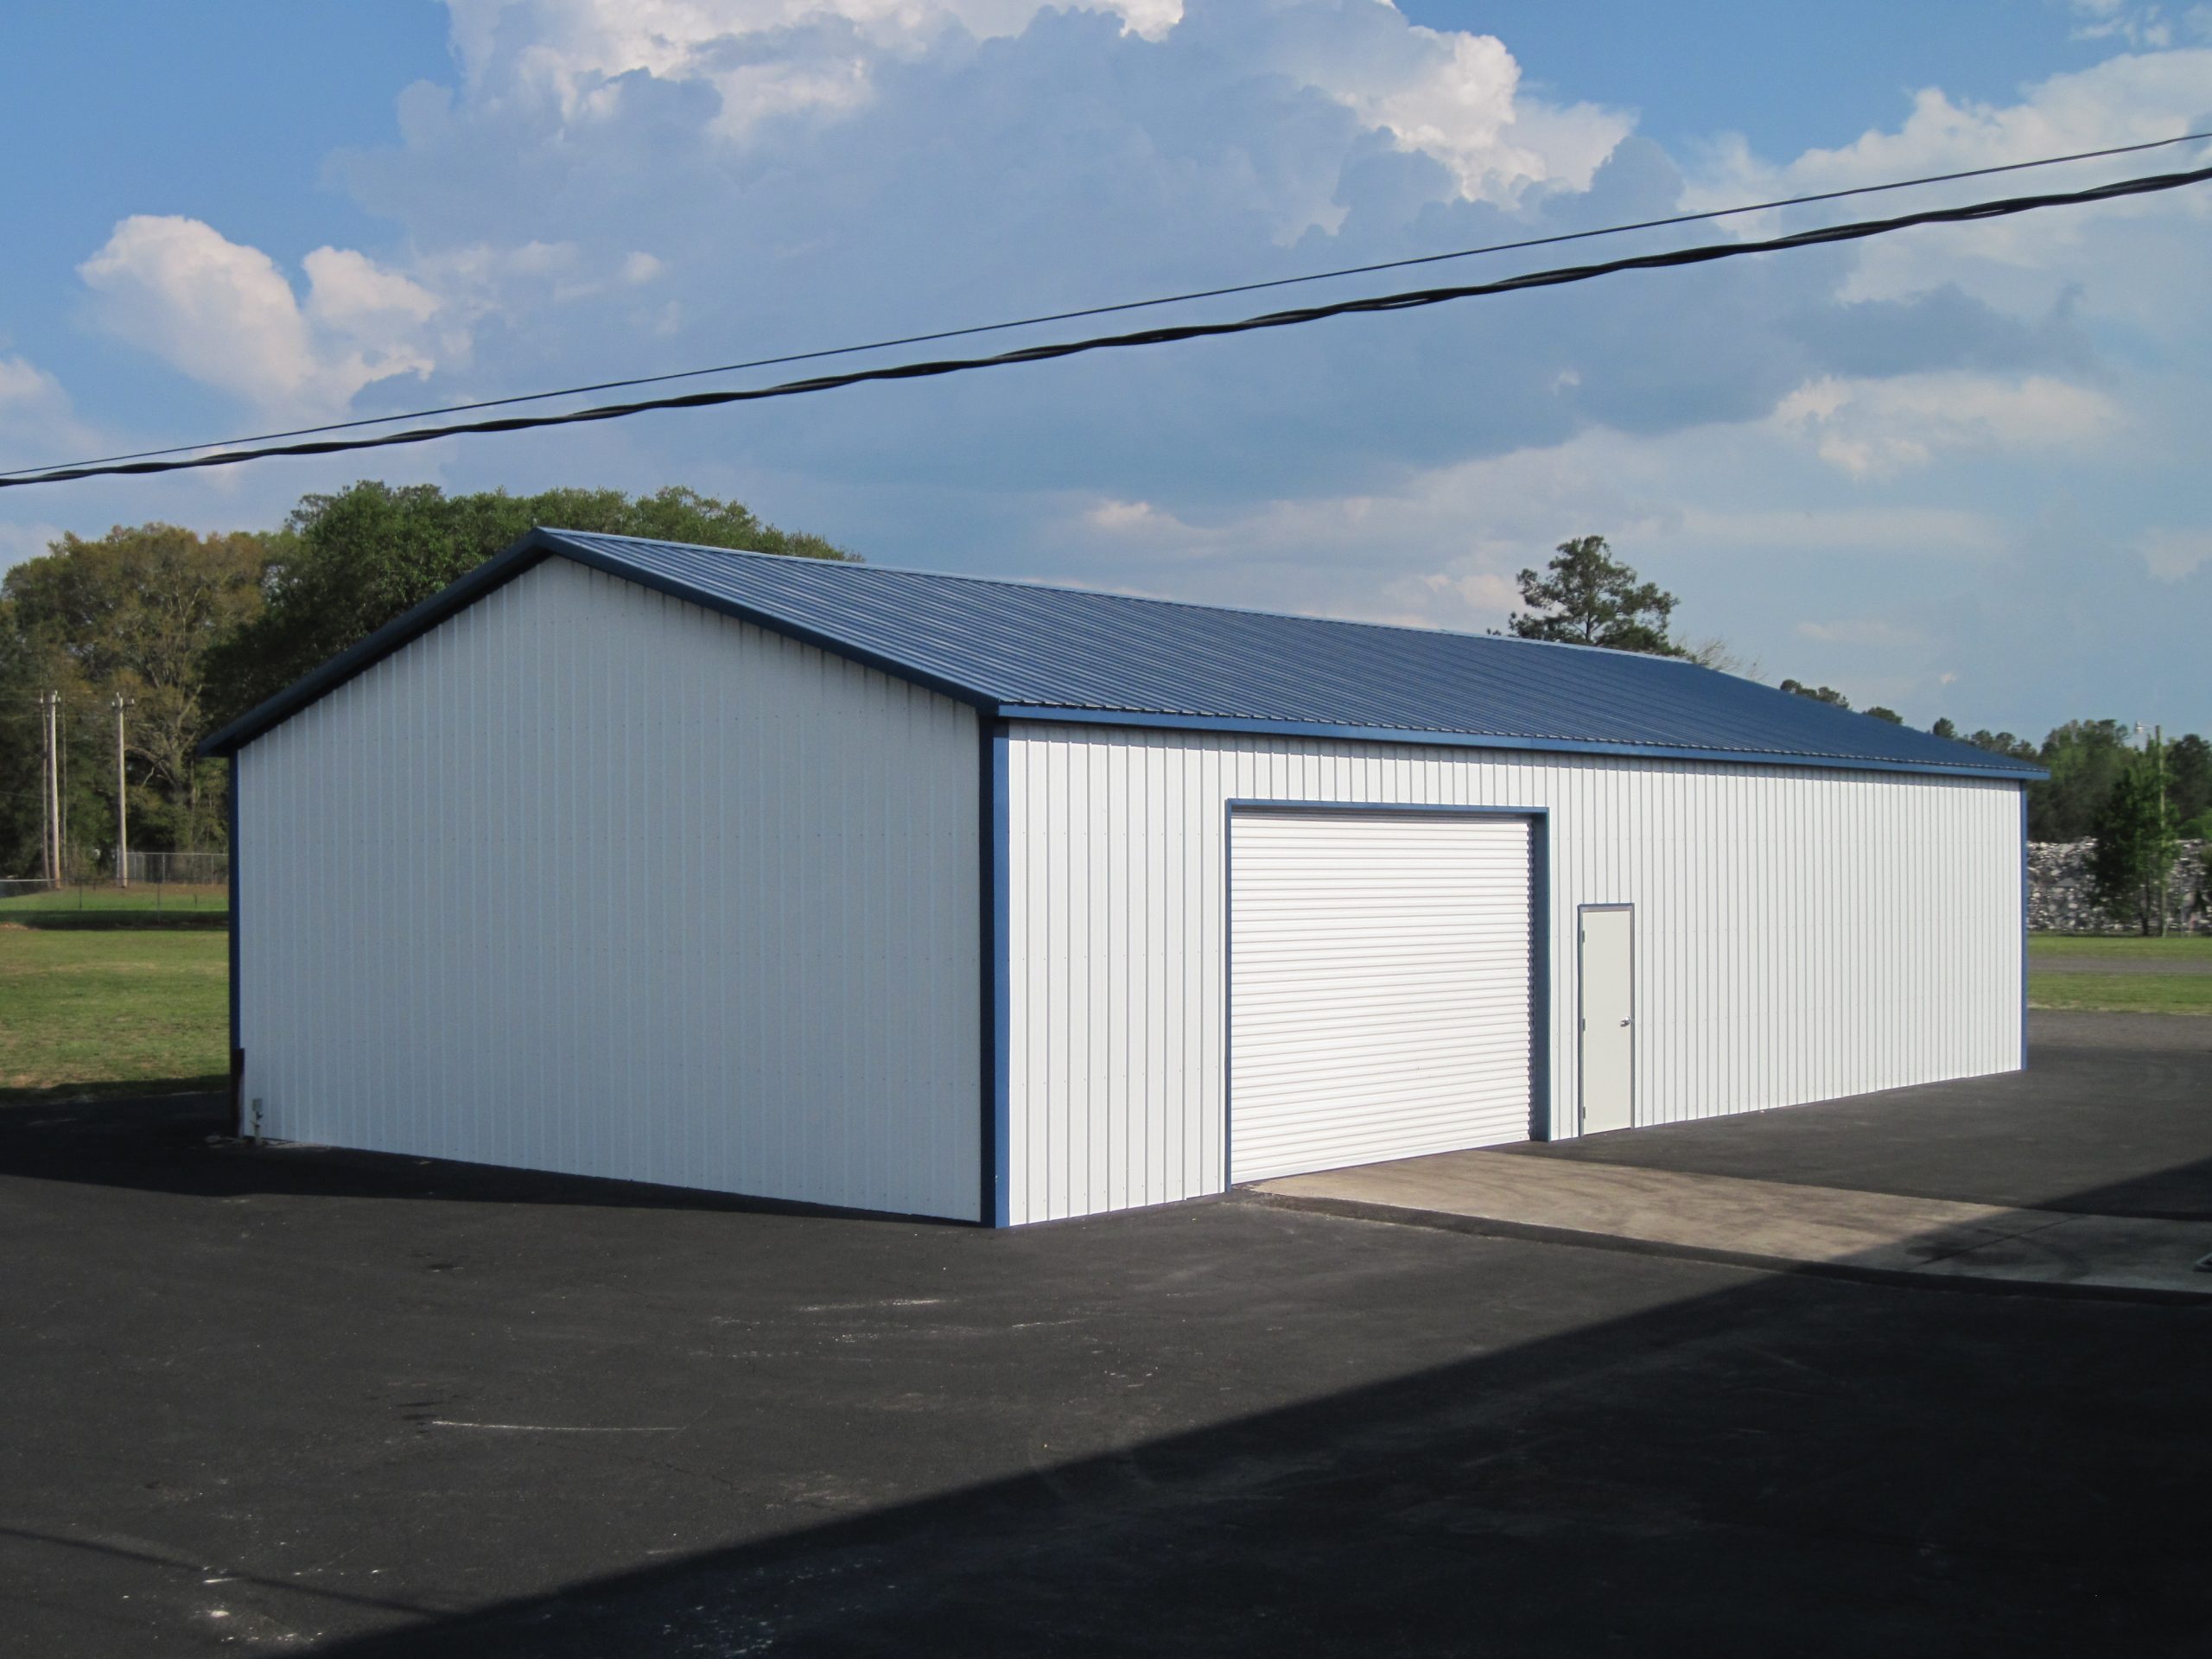
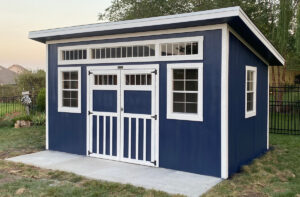
With the help of an Amish construction crew, Rick Carr wanted to build a cabin on his rural Vernon County, Wisconsin, property. Before building the cabin, he familiarized his crew with the commercial (“bookshelf”) girts and double truss framing by first building a 16’ x 24’ shed.
His ultimate goal was to have a low- to no-maintenance shed and cabin on the property, so he opted to build post-frame buildings with 30-year-warranty metal exteriors and maintenance-free windows and doors.
Carr is no stranger to post-frame construction. He worked for a post-frame company in New England back in his college days. A transplant to rural Wisconsin, he has worked for Hansen Pole Buildings for the last six years.
Carr said this framing method is a little bit different than what people in the Midwest and on the East Coast are used to. Builders are familiar with the “standard” post-frame method of putting posts 8’ on center and nailing 2” x 6” girts flat to the outside of the posts. He said building with commercial girts and double trusses is seen more often in the Pacific Northwest area.
To construct his shed, Carr used treated 4” x 6” posts and treated 2” x 8” splash boards, which were treated to UC4B – the rating for in-ground use. For the balance of the structure, he used standard lumber: 2” x 6” wall girts, #2 2” x 6” roof purlins, 2” x 8” rafters (4-12 pitch), and bearing blocks cut from 2” x 4” lumber. The steel used on the roof and sidewalls is “regular steel with a 30-year warranty.”
“One goal on the whole project,” he said, “is I wanted zero maintenance. I used vinyl windows and a fiberglass walk door with the intention that I’ll never have to paint anything.”
Carr had the site graded and put up the post-frame skeleton. Posts were placed 12’ on center and the 2” x 6” wall girts were attached between the posts in a configuration that looks similar to book shelves. To support the girts, bearing blocks were cut 22 1/2” long from 2” x 4” lumber and nailed flat against the 4” x 6” posts on each side. The front edge of the bearing block is flush with the outer edge of the post; this type of nailing is easy and efficient and provides solid support for the girt above it.
Commercial girt framing places double trusses every 12’ (over the posts). Carr used rafters instead of trusses so he could put in a 10’ x 10’ door without raising the height of the building, which is 16” in height. He used 2” x 8” gussets and cross framing on the center double-rafter for reinforcement since the center rafter would be carrying the greatest load. Two-by-six purlins, placed 24” on center, were attached to the center double-rafter with joist hangers.
He opted to use single rafters at the end walls instead of doubles, and lowered the end rafters to create a 10” overhang. The end-wall purlins sit atop the end wall rafters and were attached with hurricane ties and capped off with 2” x 6” varge rafter.
After the framing was finished, the excavator came back in with additional gravel to bring the pad up to the grade of the pressure treated splashboards. A 6 mil plastic barrier was put down to keep moisture from coming up through the concrete, and a 4” concrete slab was poured.
Reflective bubble insulation was installed under the metal roof panels to prevent condensation. The shed was enclosed with Block-It House Wrap and the envelope was finished with rolled steel panels.
Carr said this project was a good dry-run to introduce the commercial framing method to his crew. They have since completed the outside of his 30’ x 42’ cabin. GCSB