Manufacturers Provide Door Installation Tips & Tricks
Compiled by Karen Knapstein

When asked about door installation tips and techniques, Thomas Slack of Shed Windows and More recommended before you worry about door installation, you need to first make sure you’re selecting the right door for your project. (They pride themselves on educating people about what they need and what they should be looking for so they make the best-educated choices.)
The function is the primary factor to determining which door is right for you. Does your customer need just a storage entry door to haul in boxes and other materials? Or is it going to be a door that they will be moving equipment in and out of? The function will determine the correct type door.
Installation advice:
• Always leave the rough opening about 1/2” larger so you can shim and square up prehung door units.
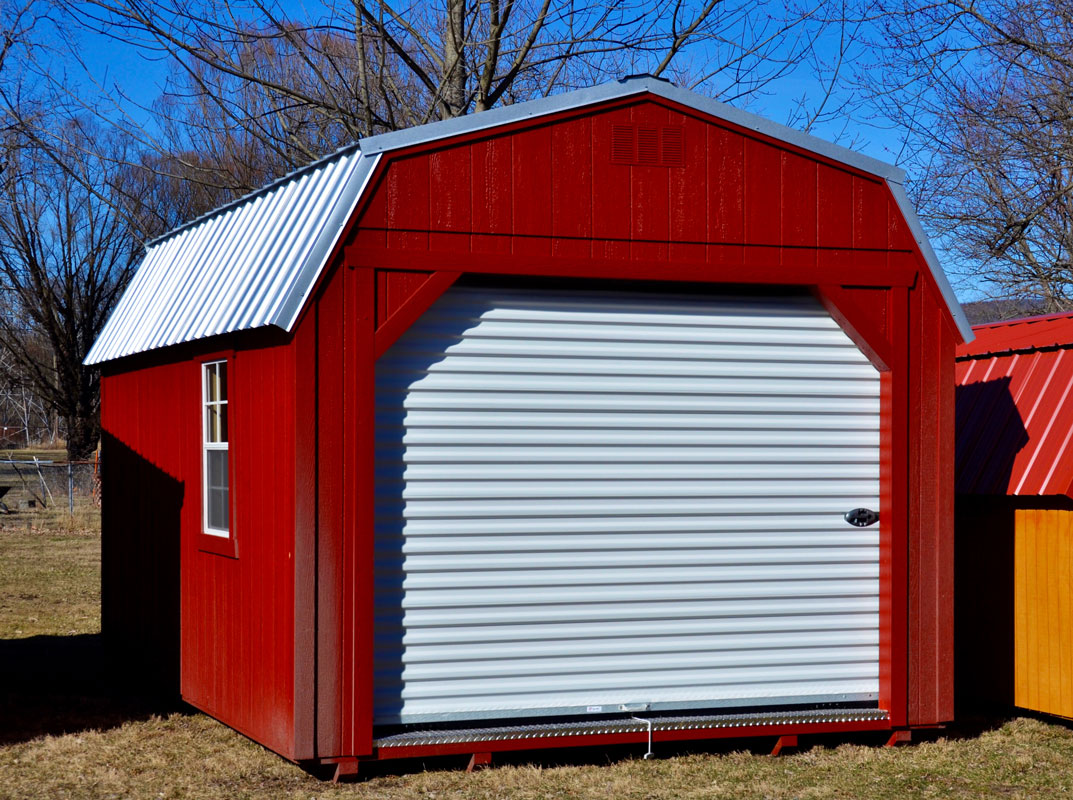
• For rollup doors, always allow 16”-18” clearance for the door drum
• Depending on the foundation, you may want to look at a sill pan to help reduce any intrusion of water that may penetrates through the main barrier.
• Apply silicone around the trim to guard against water penetration.
• No matter which door you go with, make sure it’s sealed properly.
• Make sure your door is level. Make sure you have a level foundation or level floor to place your door.
Save the forest: Measure twice, cut once!

Steve Hajewski at Trac-Rite Door said installing a Trac-Rite Roll Up door is a relatively simple process. Here are a few quick tips to make sure things go smoothly for you and your customer:
• Double check the measurements when ordering and before installing. When ordering from Trac-Rite, provide the dimensions of the rough opening. Confirm side and headroom space to make sure there is room for the door in the application.
• Pay attention to the door spring tension. When you install the door, one of the steps outlined in the manual is to tension the door by spinning the assembly a few times (the manual contains a table with guidelines on how many spins it will take to add the tension). Double check the tension: Once the door is opened about two thirds of the way, the springs should lift it the rest of the way. Adjust the tension with the ratcheting mechanism on both sides if needed.
• Pay attention to the guide spacing. If roll-up door guides are too close together, the door curtain can get bound up in the guides. If the guides are too far apart, there is a risk of the curtain coming out of the guides. The door should be able to slide side to side by about 1/4” to 1/2” within the guides. The guides have slotted holes to allow for fine tuning.
• Make sure the client is happy with the door installation and understands the operation of the doors. Trac-Rite doors have a bulb/blade seal at the bottom: When closing a new Trac-Rite door, you’ll usually need to push down on the bottom bar with your foot on the handle to compress the door seal. Explaining this to the client can prevent a callback.

MWI Components has this advice regarding installation of its Dutch doors and Arcadian Sliders:
Dutch Door:
1. Frame opening needs to be plumb and square at 49 1/8” +1/16”/-0” wide x 87” high.
2. When specifying handing:
i. Left Hand Swing = hinges on the left as viewed from the outside.
ii. Right Hand Swing = hinges on the right as viewed from the outside.
3. Attach bottom door panel to frame before top panel. Bottom hinge of top panel is left loose for access to bottom panel.
Arcadian Sliders:
1. When ordering, verify door size is identified as Width x Height and allows for adequate door overlap to the rough opening at the track board (header) and each jamb.
2. A flat clean surface should be used for door assembly.
3. Check square of door rails by measuring diagonally and matching up the measurement.
4. Start positioning box girts from the bottom of the door and work up to ensure that all plywood seams are backed up by a box girt and anchored securely.
5. To prevent unsightly issues from projecting through the sheet metal cladding, if required, spend time on the seams — leveling, flattening, sanding; then blow off dust for best adhesion results.
6. Windows provided in Half Light Kits are sized 3/4” under rough opening size.
7. Dry fit sheet metal inserts, and mark out locations prior to gluing inserts in position.
8. To ensure good water shed, sheet metal inserts should be installed starting at the bottom and overlapping while working towards the top.

Todd Carlson, President of A.J. Manufacturing, shared this advice:
The design of the structure should be considered for the optimum performance of the door. The door is, frankly, a hole in the wall so air, water, and light leaks are of concern. When possible and functional, choose out-swing doors and provide some additional protection from the elements with eaves, gutters awnings, porches, grade, drainage, etc.
During construction, square and plumb framing of the opening with quality materials and level concrete floor, slab, or footing will result in the best possible installation. Time or money saved in this process will usually result in challenges with fit and finish, operation, and performance of the door.
Familiarize yourself with the factory instructions for installation. In some cases, attributes installed in the wrong order, might be difficult to correct or require replacement of components.
Selection of the proper fasteners for the installation is important as the head, hardness, or color may vary.
Select a new screw or fastener driver bit when installing the door. Stripped heads, scratched paint, or loss of control should be avoided when installing components other than framing.
Have a partner to set prehung doors, at least to initially place the door and secure. Handling a door alone is likely to introduce a scratch or dent from a tool belt, knee, or framing. Take your tool belt off or swing around your waist during door installation. Don’t invite a scratch or dent.
Sealant under the sill, shims behind the jamb and lock/deadbolt areas to plumb and level the door is key. Note: A door with the jambs not plumb or in the same plane will create the illusion the door slab is warped. It will also make closing/locking difficult or require modification of strikes.
Read the instructions on how to install the lock set. Many are adjustable for various backsets, door thicknesses, and material types. Failure to follow installation instructions frequently causes issues with operation. Exterior door locks are available in different grades and are more robust and complex than passage or interior sets.
Check the operation of the door. Keep in mind: The owner of the building will immediately judge the quality of the entire structure if the door binds, squeaks, rubs, sticks, binds, won’t close and latch easily, or has any resistance when operating. GSCB


