By Karen Knapstein
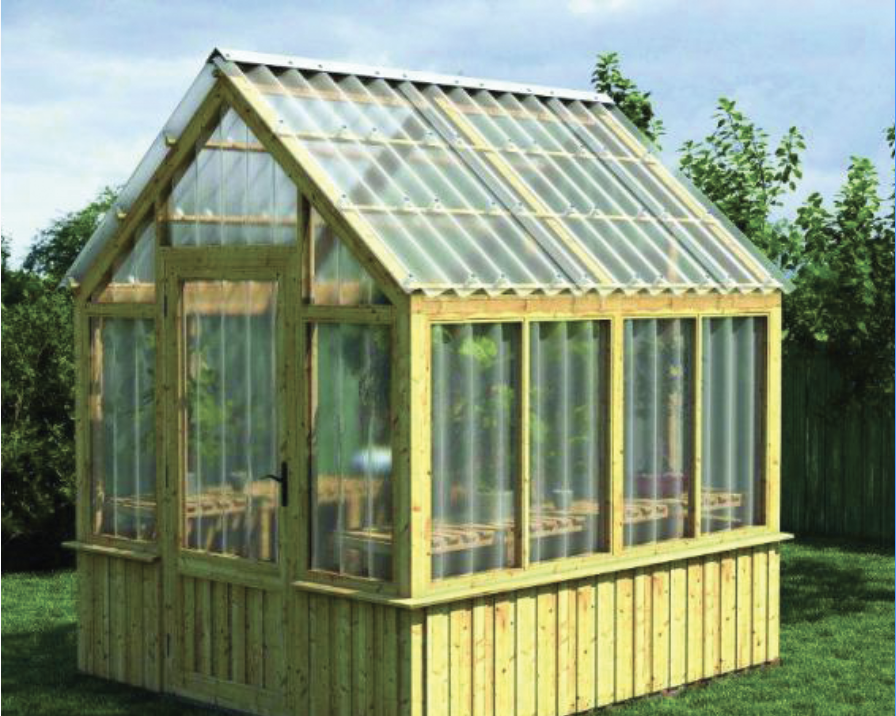
The purpose of a greenhouse or cold frame is to control the temperature and humidity to provide ideal growing conditions for plants. Polycarbonate panels are the most used translucent (or transparent) panels used in building small residential greenhouses. Here are some of the basics to keep in mind if you’re considering venturing into this specialized area of building.
Multi-wall and corrugated polycarbonate panels are lightweight and durable, and no special tools are required to work with the material. Buddy Pullen, Vice President of Pro Sales for Onduline, maker of TUFTEX Master Series PolyCarb panels and TUFTEX Multi-Wall panels, commented on why installers would find the panels appealing: “You don’t need any special tools to install them and you can put them on pretty easily.”
The panels have a high percentage of light transmission, so they are ideal for installing on greenhouses and cold frames. However, polycarbonate panels should only be installed over light-colored supports with adequate ventilation to extend the life of the panel and to prevent damage to the panels from heat buildup from sunlight. The panels are UV protected to help prevent yellowing and deterioration from sunlight.
Corrugated Polycarbonate
Corrugated polycarbonate panels are durable and have a high degree of light transmission. They are either transparent (you can see through them) or translucent (light comes through them but you can’t see through them clearly). Onduline’s TUFTEX Master Series PolyCarb panels are designed to withstand surface temperatures from 270° F to -40° F. Well-suited for greenhouses, the company’s Clear panels allow 90% light transmission, while the Translucent White panels allow 70% light transmission.
No special tools are needed to cut or install polycarbonate panels, but there are some cutting and installation tricks that will prevent damage and ensure maximum life expectancy from the material.
Check with the manufacturer about cross-bracing. For example, TUFTEX recommends horizontal bracing every 36” (bracing perpendicular to the direction that the panels will lay). Depending on the manufacturer or the product, the bracing required to meet the warranty conditions could be different.
You can use a utility knife to cut a single panel of polycarbonate; detail cutting can be accomplished easily with tin snips. To cut several panels at a time, use a jigsaw or circular saw with a fine-tooth blade. (If using a circular saw, use a plywood/panel blade installed backwards in your saw.) Use a high blade speed and feed at a medium rate. Proper cutting speed is important: If you feed it too slow, the plastic will melt; too fast and the blade could break out large chips. Get a perfectly straight cut by clamping a straight edge to the stack of polycarbonate sheets to guide the saw.
Andrew Mullen, president of Direct Metals Inc., a supplier that offers a variety of single-ply polycarbonate panels, advised: “Avoid intersecting cuts — if one must be made, drill a hole at the intersection point and then saw to that point.”
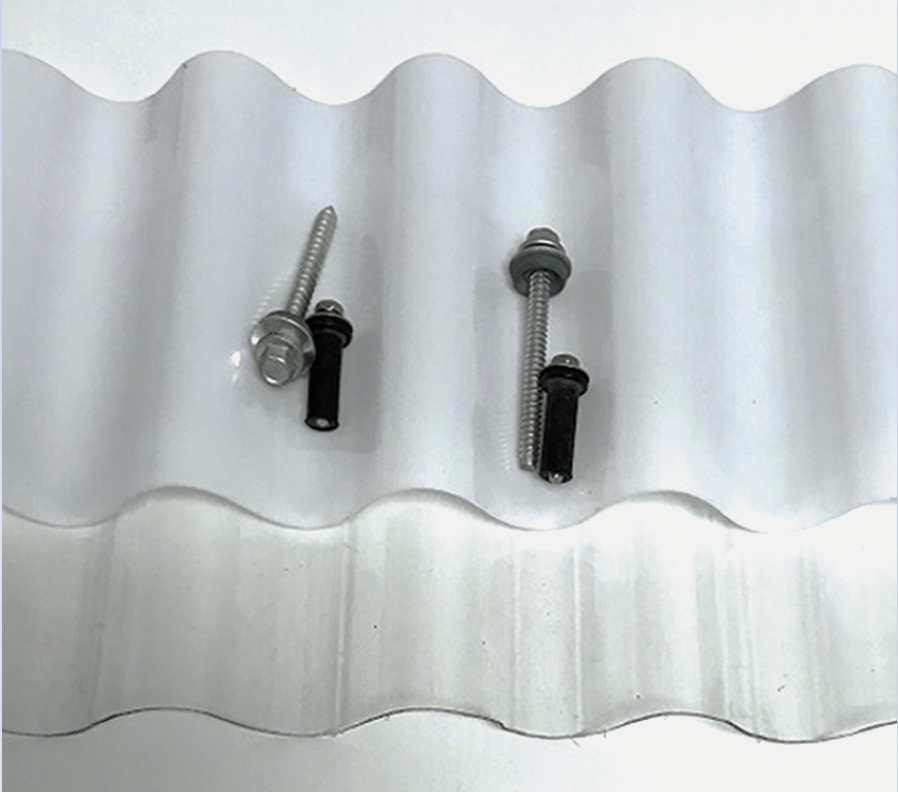
Polycarbonates move more than most roofing materials, so it’s necessary to predrill pilot holes that are larger than the fastener diameter and use fasteners with rubber washers. Depending on the panel manufacturer, it’s recommended users drill the hole anywhere from 1/16” to 1/8” larger than the diameter of the fastener.
Pullen cautioned, “If you don’t predrill or don’t predrill a large enough hole, you’ll get micro-cracks that grow into spider cracks around the fastener. This is the case for all polycarbonate panels.”
If fasteners are over-driven, the panels won’t be able to move as they expand and contract with temperature changes, which will cause dimpling, cracking, buckling and — ultimately — unhappy customers. Mullen advised, “Do not overtighten fasteners — this will cause the rubber washers to fully compress. It is best to use electric screw guns with torque-sensing devices and not impact drivers. Always drive the fastener perpendicular to the surface of the panels until seated. If the washer deforms, the fastener is too tight.”
For a leak-free installation, overlap one corrugation and seal the side laps and end laps with a silicone sealant. Lap ends a minimum of 4”. Use closure strips that match the profile of the corrugated panel on both ends and on horizontal supports. (If only one side of the panel is UV protected, make sure that side is facing out.) The panels should overhang the sides of the building by 1/2” to 3/4”.
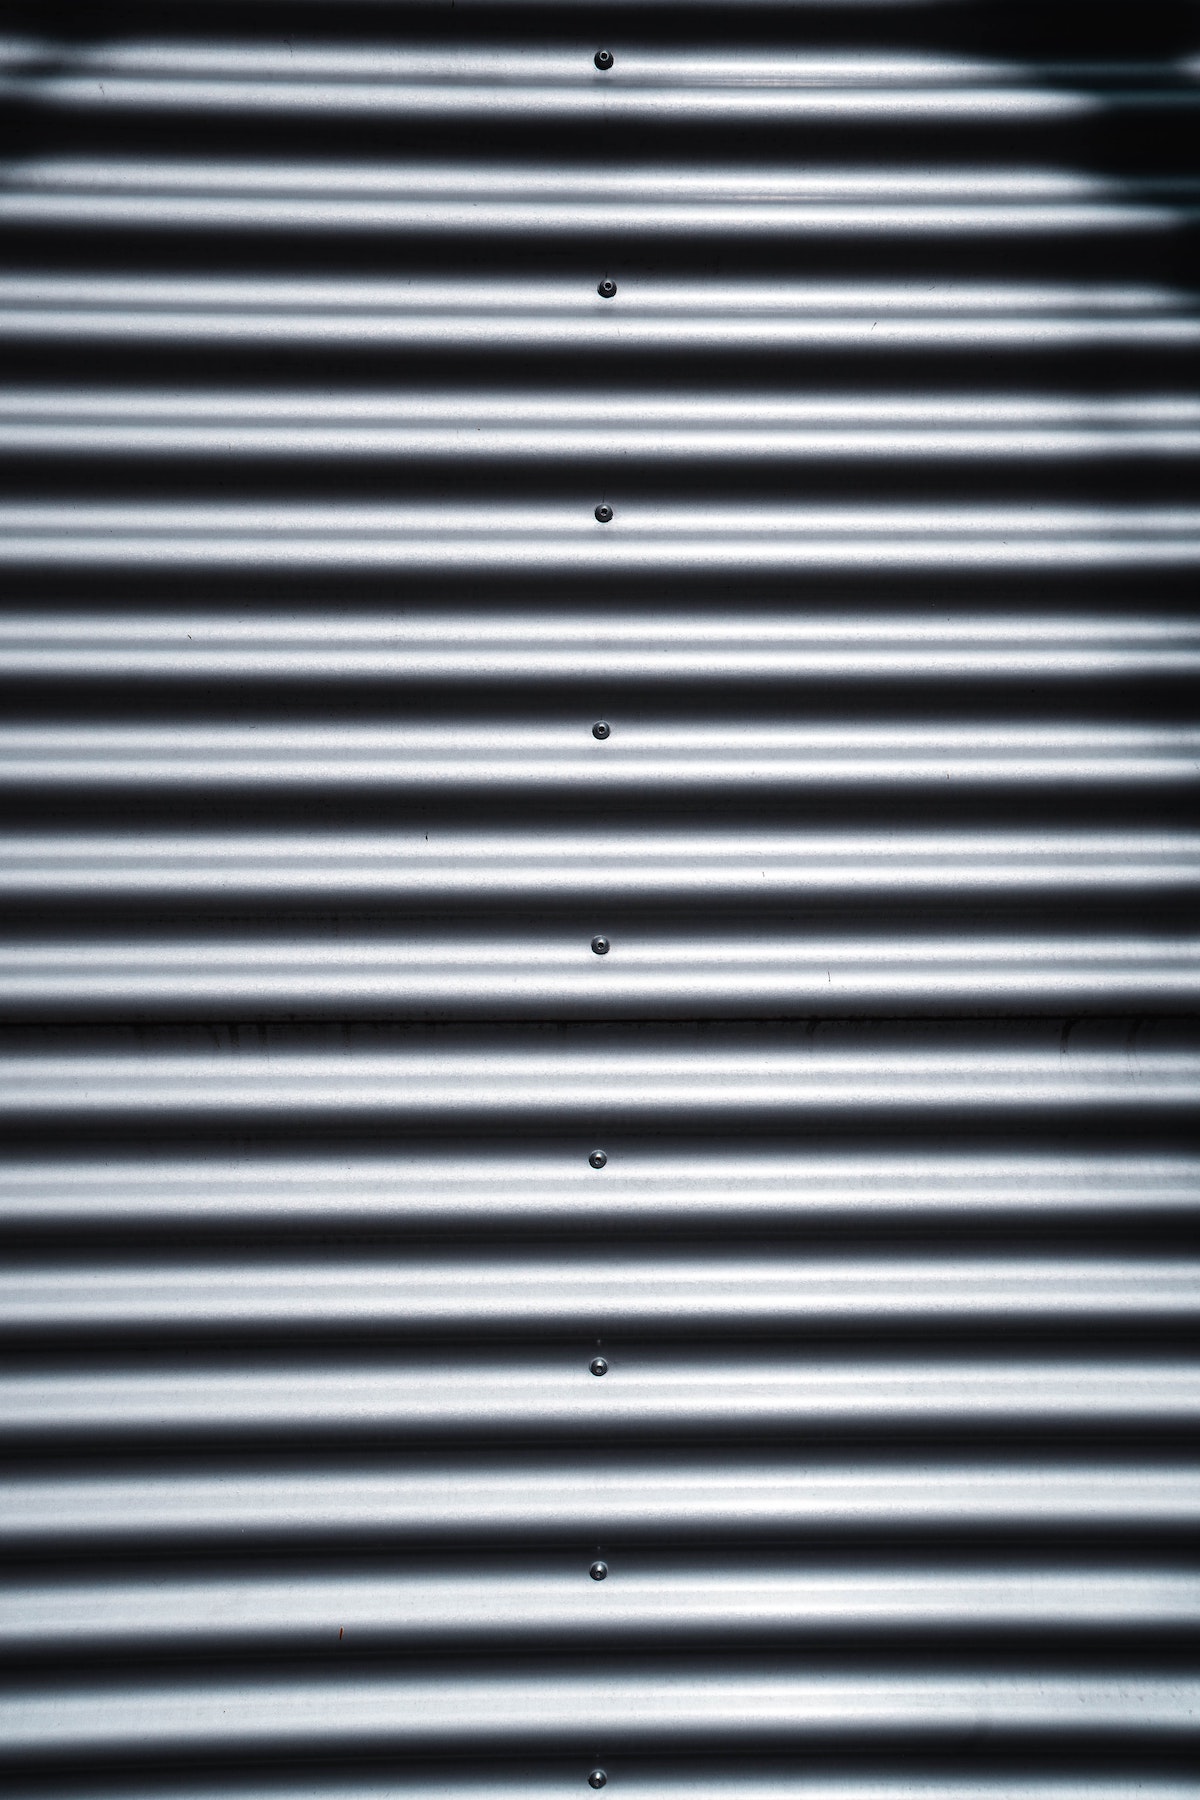
Fasten on the crown of the corrugation when the panel is applied on the roof; fasten in the valleys when installed on walls. Fasten the panel from one end to the other; don’t fasten from each end towards the middle. Use closure strips when installing the ridge cap but reverse the strip so it’s facing down to fit into the panel profile. This will give you a smooth surface on which to mount the ridge cap.
Multi-wall Polycarbonate
Using multi-wall polycarbonate on a structure will help retain heat much better than corrugated polycarbonate. While it’s still easy, there are some additional steps to take during preparation and installation.
Saw and pre-drill multi-wall polycarbonate panels as you would corrugated polycarbonate panels. Keep in mind that multi-wall panels are masked with a film on the UV-protected side. This film should remain in place for cutting, drilling, and during installation. Don’t trap the protective film under the fastener heads or channel profiles (or anything else).
After cutting, peel the film back about 2” around the perimeter so you can apply the tape and channel profiles. (Make sure the flutes are clean; if not, clear debris with compressed air.) Apply impermeable tape to the top edges of multi-wall polycarbonate sheets to prevent dust, moisture, and bugs from entering. Apply venting tape to the bottom to keep bugs and debris out and to allow any condensation to drain out. Install U-channel to seal the top and bottom ends of the panel.
If installing panels butted up against each other, use H-channel to join them together, making sure the UV-protected surface faces outward. Remove the protective film as soon as the sheet is fastened in place and installation is complete. Leaving it on after installation can result in the film baking on to the surface, making it impossible to remove later.
TUFTEX Multi-Wall panels measure 4’ x 8’ (32 sq. ft.). To close the ridge, the TUFTEX Universal Ridge measures 51” long by 18” wide and covers 4 linear feet. Onduline provides precise guidance for fastener placement: Fasten no more than 2” from the edge of the panel, with no more than 24” between fasteners. Don’t fasten on the U- and H-channel profiles. When installing the ridge cap, pre-drill fastener holes in both the ridge piece and the Multi-Wall panel, making sure the fastening aligns with the support structure. Position fasteners no more than 1 ½” from the edge of the Ridge panel and no more than 2” from the edge of the panel, with no more than 12” between fasteners.
Roof Slope Matters
If installing polycarbonate on a greenhouse or cold frame roof, the roof should have no less than a 5° slope, as recommended by most polycarbonate manufacturers. Anything less than that encourages water pooling, which can cause leaking. A flatter slope also encourages debris build-up, which affects the amount of light entering the structure and – if enough debris builds up – it can even affect the structural integrity. Always position the ribs vertically for window and wall structures and parallel to rain flow for roofing structures.
Conclusion
Since polycarbonate panels come in sizes that are convenient to builders and are easy to work with, you can enclose a structure quite quickly. You just don’t want to move along so quickly that you forget any of the basic installation practices.
It should be noted that greenhouses built with polycarbonate panels heat up quickly on sunny days. They must have adequate ventilation to get rid of the excess heat and humidity. Not only will the excessive heat damage plants, in some areas it can get so hot that it will damage the panels themselves. Greenhouse ventilation will be addressed in an upcoming edition.


