Part 1 of a 2-Part Series
BY JAMIE WHITE, PPG SEGMENT SPECIALIST
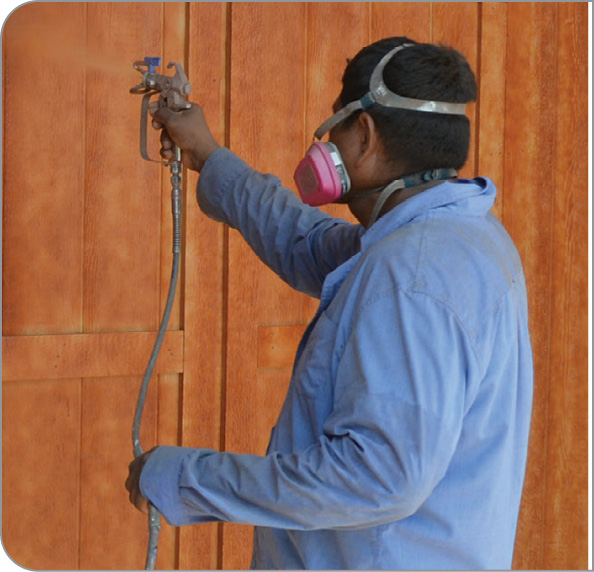
In the shed manufacturing process, raw material costs such as lumber, shingles, paint, etc. can have a big impact on your profits. You may not always be able to control the cost of your goods, however you can control if they are being used efficiently. While visiting shops, we have noticed that there are customers who are not taking advantage of the technology available to them or the proper spray techniques to help them paint more efficiently. By using the right amount of pressure on your spray equipment, correct tip size, proper spray techniques and possibly even a tip extension, you can reduce the amount of paint needed to apply to a shed. This is the first of a two-part series where we will discuss ways to improve your paint process for maximum coating efficiency.
Most shops are painting their sheds with some version of an airless or air-assisted airless sprayer. These sprayers are a great choice for painting sheds. One of the most important parts of the sprayer is the spray tip. Regardless of the brand of sprayer, your tip will have a 3-digit code which signifies the size of the tip. For example, “517” or “413”. So what do those numbers mean? Let’s use the “517” tip as an example. The first digit, in this case a “5”, is the fan width. You double this number (5×2=10), so in this example holding the spray gun 12” from the shed wall, the tip will produce a 10” wide fan.

The last 2 digits, “17”, represents the orifice size of the tip; the higher the number, the larger the orifice. The general idea is that the thicker the coating, the larger orifice size you will need for the coating to go through the tip and be atomized into a paint film. The larger the orifice size also means the more paint you will apply to your shed in a given time.
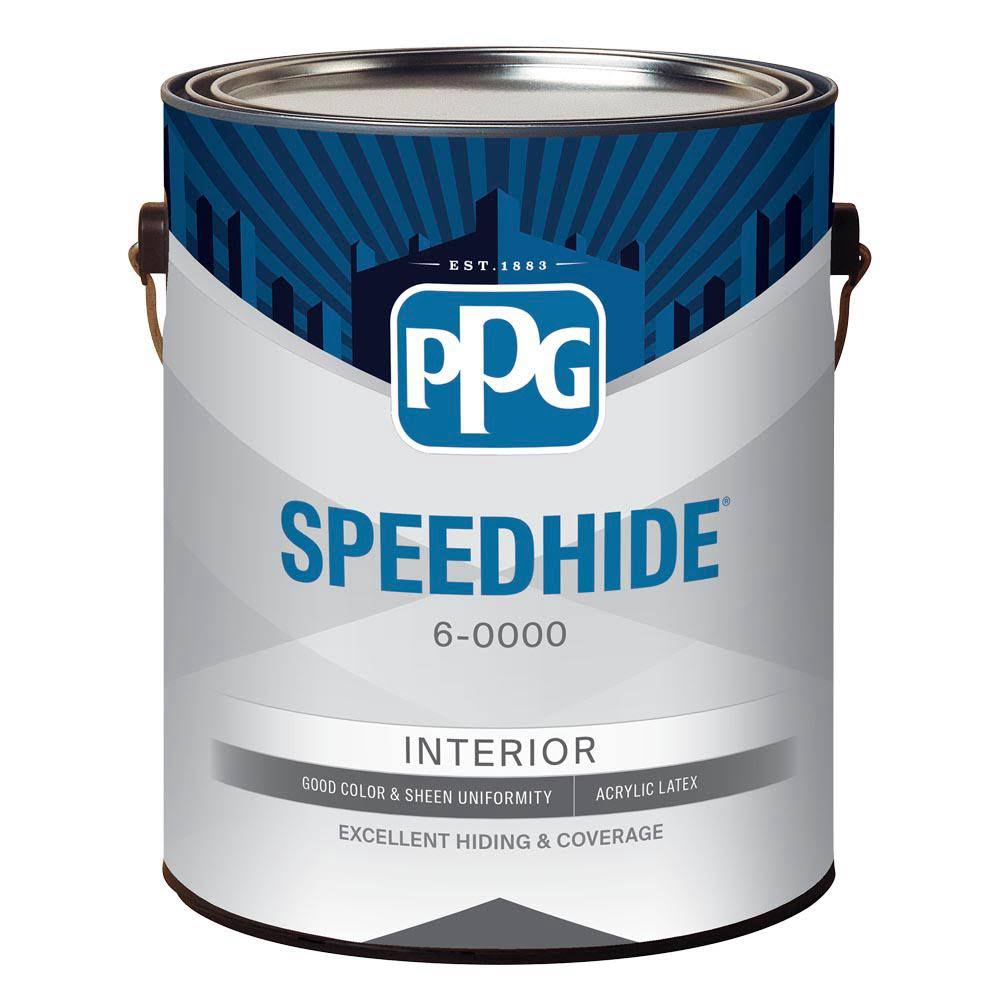
Factors such as how fast the painter moves while spraying, proximity to the shed, and the thickness of the coating you are using will determine which tip size is appropriate for your use. When applying PPG’s AQUACRON® 200 semi-transparent waterborne urethane, we normally recommend a 513 tip be used. This will give you a 10” fan, allowing you to paint a building faster by covering a wider area and making it easier for you to overlap your spray pattern with the recommended 50% overlap. PPG has found that the 513 tip delivers just the right amount of product to get a great look. For the PPG Aquacron 100 acrylic enamel, we recommend a 515 tip. This is also a 10” fan so you can cover more ground. The increase to a “15” orifice allows for the thicker coating to spray more effectively. You can use a larger tip than these but there is a point that you are creating a lot of overspray and the tendency to produce runs in the finish increases. This causes you to use more paint then necessary, and produce a less than desirable appearance.
Fluid pressure is important as well. When using an airless sprayer with PPG’s urethane and acrylic shed coatings, we recommend setting your pressure at roughly 3/4 of the adjustment range, or 2750 PSI. You want just enough fluid pressure to atomize the coating evenly on the shed. An easy test is to spray the coating on a scrap piece and look at the fan pattern. Do you see an even pattern or do you see “fingers” or “tails” in the middle or outside of the pattern? If you are seeing either of these than you may need to turn your pressure up or get a smaller tip. Try multiple tips until you find the one that gets the appearance you desire, with the minimum amount of pressure and overspray.
In the next issue we will discuss proper spray techniques and the use of tip extensions. We hope you find this article helpful and that it will help to improve your shop’s efficiency, productivity and profitability. GCSB

To better understand how to get the best coatings system, contact Jamie White ([email protected]), who will put you in contact with a PPG TrueFinish Specialist in your market.